- Frosty Hello Stamp Set (new)
- Frosty Hello Dies (new)
- Snow One Like You Stamp Set (new)
- Snow One Like You Dies (new)
- Snowy Day Embossing Folder (new)
- Snow Day Sparkle Dots (new)
- Premium Dy Inks (Barbershop, Night Sky, Dress Shop and Asphalt
- Ergonomic Blending Brush
Created card base A2 size
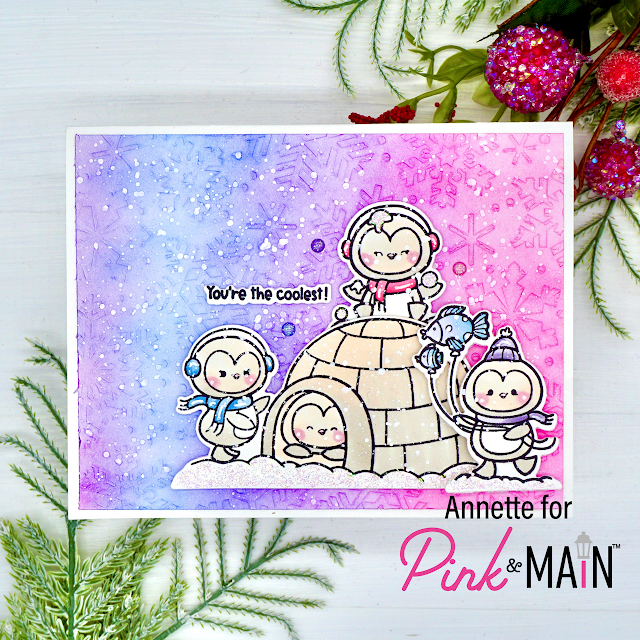
Cut a piece of white cardstock slightly smaller then the card base and emboss with the new Snow Day Embossing Folder.
Using the Dress Shop, Night Sky and Barbershop, blend your ink using the P&M Ergonomic Blending Brush on the embossed background. See how those snowflakes shine when adding the ink. I love it!
Adhere your snowflake background to the center of your card base.
Stamp out all of your images on white card stock. Color the images with your choice of coloring mediums. I used Copic Sketch Markers.
Die cut the images with the coordinating dies.
Using foam tape add the images to your snowflake background.
I added some snowfall using Copic Opaque and water.
Stamp the sentiment on white cardstock using the new Asphalt Premium Dye Ink.
Die cut the sentiment out using the coordinating dies and adhere to the card using foam tape. Finishing up with these new pretty Snow Day Sparkle Dots. I added three of them on this card.
Can you believe how cute these images are? I am loving it all. Make sure to check out the entire release HERE.
Happy Shopping!
Thank you so much for stopping by.
Have a blessed day!


ReplyDeleteGosh, you are the queen of the backgrounds! I love, love, love the way the snowflake background looks! The characters are super sweet too! Thanks for again showing me something COOL!
They're adorable! Delightful card, Annette!
ReplyDelete