- Deck the Car Lawn Cuts
- Sketched Mountains Borders Lawn Cuts
- Open Me Stamp Set
- Oh What Fun Stamp Set
- Really Rainbow Christmas Paper Pack
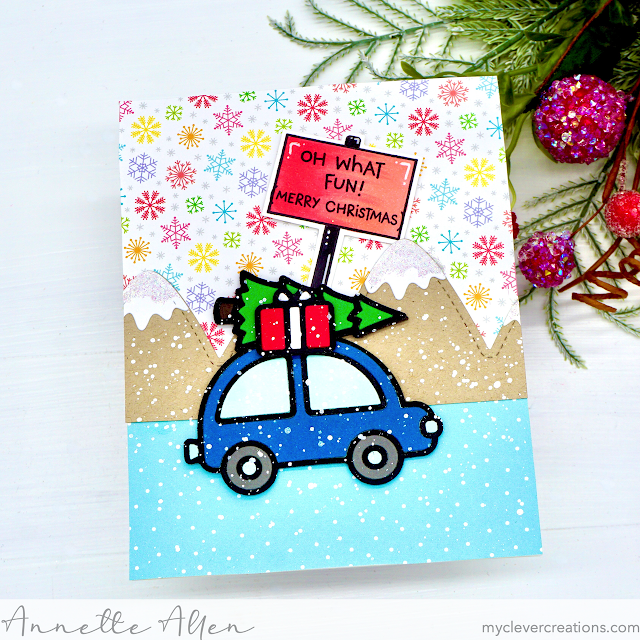
I started with my card base... A2 size. I then choose two of the designer papers from the Really Rainbow Christmas paper pack. I adhered one to the top half and the other to the bottom. Well I did not quite adhere them to the top half and bottom half. I gave the top half just a bit more space. I used Bearly Arts Precision Craft Glue to adhere to the card base. I trimmed the edges and set aside.
Time to die cut this adorable car. I first choose my colors and started die cutting. This set is super easy to use you just have to die cut a few times to get the car look that you want. The color combos are endless. The tree, present and car are all different dies, so I had to adhere the tree and gift to the top of the car.
Now that my car is created I thought why not add some mountains in the background. I die cut the Stitched Mount Borders on kraft cardstock and the snow caps on white. I added to my card base and trimmed off the access. I also added a little Ranger Stickles for a little snow shine.
I then added the car to my card using thin foam adhesives.
To finish I stamped the sign from the Open Me stamp set on white cardstock and then added these fun sentiments from Oh What Fun stamp set. I then colored using Copic Sketch Markers R35 and R32 and then trimmed the sign out and added it to my card also using thin foam adhesives.
Just when you think you are done.... I just had to add a little Copic Opaque for snow. Now we are done.
I have to say it is one of my favorite cards I have created in a while.
Thank you so much for stopping by.
Have the most awesome day!


Oh those colorful snowflakes!! This is CUTE!!
ReplyDelete