Monday, April 15, 2024

Pretty Pink Posh: Love Mail...


Happy Monday everyone.. today I am here with you sharing another fun Pretty Pink Posh guest design post. I have been having lots of fun designing with these adorable images and today it is all about that happy mail... so let's get started.


Create card from white cardstock A2 size.

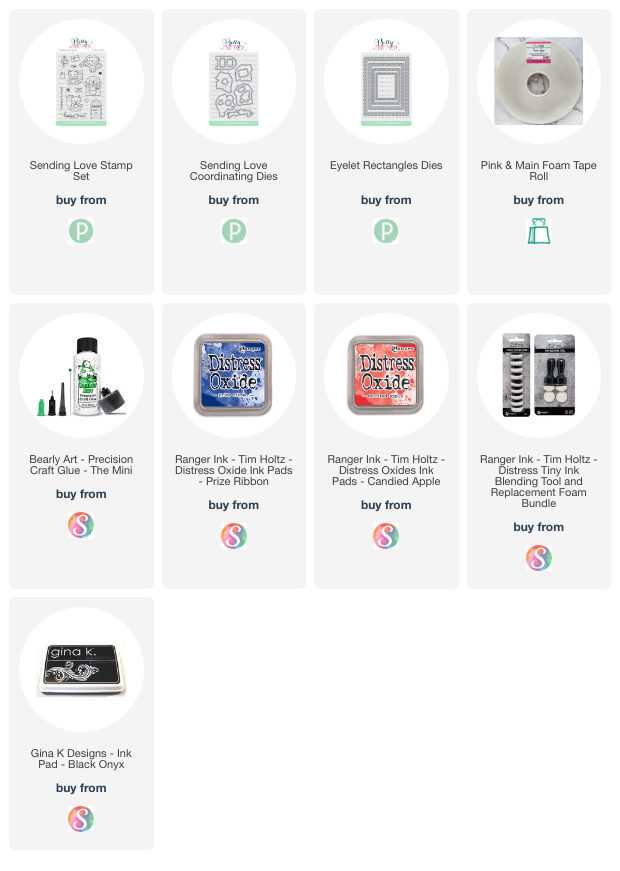
Cut a panel on white cardstock A2 size and die cut the largest Eyelet Rectangle die on this panel. Leave the die in place, you can tape it down but make sure there is no take in the center area of the die. Let's ink blend Ranger Oxide inks Prize Ribbon and Candied Apple. When you finish remove the die and see how it acted as a mask and left the border around white. I love this trick. 

Stamp out these adorable images from the Sending Love stamp set on white cardstock using black ink. Color the images using your favorite medium and then die cut them out using the coordinating Sending Love dies. Now it is time to create a fun scene. Make sure to leave room for your sentiments. Use foam tape and liquid glue on different images when layering. 

Stamp out the HAPPY MAIL sentiment from the Sending Love on white cardstock using black ink and die cut using the coordinating Sending Love dies. Adhere your sentiment to the card. 

Stamp the rest of your sentiment directly onto your background using black ink.

Adhere your panel to your card using foam tape for little more dimension.


 That is all for today. I hope that I have inspired you today with these adorable Pretty Pink Posh images. All links are listed below. 

Have a blessed day!

Thursday, April 11, 2024

Husband's Birthday Card...


Welcome blog friends.. today I am sharing the card that I created for my husband's birthday. He actually reads my blog (so supportive) so I had to wait to share this card. He loves my colorful side and how I use color so I went with lots of color for this card. 


Create card from white cardstock A2 size.

Cut a panel on white watercolor paper A2 size and add some of Pink & Main Watergems Sparkling Watercolors. These are in powder form so all you do is add a little water and just blot the color there and there until your panel is full of color. Let dry completely before handling. 

Die cut The Stamp Market Oh My Stars background on your colorful watercolor background. Add some foam tape to the back of the star background and adhere it to your card base. 

Die cut a scalloped circle on white cardstock and add a little teal ink in the center but don't ink up completely. 

Stamp the Happy BDAy sentiment from the Taylored Expressions Best Mix Ever stamp set using embossing ink and heat emboss with gold embossing powder. Die cut the sentiment using the coordinating dies. Adhere the sentiment using foam tape to the center of the scalloped circle.  Add some foam tape to the back of the scalloped circle and adhere it to the card. 

This next sentiment is from the Taylored Expressions building blocks collection. 


A fun and colorful birthday card for my special man... BTW he loved it. 

Thanks for stopping by.
Have a wonderful day!

Wednesday, April 10, 2024

Pretty Pink Posh: Love You Berry Much...


Welcome blog friends to another fun Guest Design post for Pretty Pink Posh... Today it is all about those berries. 


Create card from white cardstock A2 size. 

Cut a panel on dark purple cardstock A2 size and adhere it to your card base using liquid glue.

Cut a panel on white cardstock measuring 4 1/4 x 5 1/4. Stencil the Pretty Pink Posh Layered Strawberries using pink, red, green, purple and blue inks. (colors listed below) This is a layering stencil, so very easy when adding all the different colors. Adhere the panel to your card base, make sure to center so the purple is showing on top and bottom. 

Stamp out all your images from the Fresh Berries and Bee Friends stamp sets on white cardstock using black ink. Color the images using your favorite medium. Die cut the images using the coordinating Fresh Berries and Bee Friends dies. 

Create a scene that makes you happy using liquid glue and foam tape when layering. 

Stamp the LOVE YOU from the Fresh Berries stamp set on white cardstock using black in and trim down and adhere to your basket using liquid glue. 

Stamp the BERRY MUCH sentiment from the Fresh Berries stamp set on white cardstock using black ink and die cut using the coordinating Fresh Berries dies. Add some foam tape to the back and adhere to your card. 


Lots of berries and just had to add those adorable bees. We have the strawberry stands already out here in California.. it is just that time of year and they are always so sweet. 

That is all for today.
Thank you for stopping by for another Pretty Pink Posh Guest Design post. 
Have a wonderful day!

Saturday, April 6, 2024

Lunar New Year... April Challenge


Welcome everyone to another fun  Lunar New Year Challenge with 4 prizes up for grabs. To enter your cards head on over to the Lunar New Year Challenge HERE and link up your New Year cards. Today I am featuring one of the awesome sponsors Lawn Fawn. 


Create card from white cardstock measuring 4 1/2 x 5 3/4. 

Cut a panel on purple cardstock 4 1/2 x 5 3/4 and adhere it to your card base.

Die cut the Snowy Background on white cardstock. 

Cut an A2 panel on gold cardstock and adhere it to the back of the Snowy Background using tear tape. 

Adhere your die cut panel to the card base, try and center it the best you can. 

Die cut the Star Border open star die on white cardstock 5 times. Die cut the solid stars on designer paper, I used LF Spiffy Speckles paper pad. Adhere the white die cut stars on the color die cut stars using liquid glue.  Now adhere the strips of stars to your card at an angle and trim off access. 

Stamp the dragon from the Little Dragon stamp set on white cardstock and color him using your favorite medium. Die cut the dragon using the coordinating Little Dragon dies. Add some foam tape to the back and adhere him to your card. 

Die cut one of the Fancy Wavy Banners two times on white cardstock. Stamp the sentiments from the Winter Wavy Sayings and Little Dragon stamp sets. As you can see I mixed the sentiments up, just mask off the part of the sentiment you are not using when adding your ink, remove the mask and stamp the sentiment.

Adhere the banners to your card using foam tape. 

Die cut 24 from the Henry's 123s die on gold glittered cardstock and adhere to your card using foam tape. 


Friday, April 5, 2024

Berry Awesome...


Happy Friday blog friend.. Here in CA the berry stands are all out and they look delicious. We don't ever buy them because they are crazy expensive. So I am just showing my berry love today on this card. 


Create card from white cardstock A2 size.

Die cut the Lawn Fawn Outside In Stitched Strawberry die on some of LF fun patterned papers. They have so many so pick the ones you love and adhere all the pieces together to create these fun strawberries. For the papers I used LF Let It Shine, What's Sewing On, Hello Sunshine and Stripes n Sprinkles paper pads. Some of these are retired. 

Adhere the patterned paper of your choice to the base of the card. I went with stripes from the Stripes n Sprinkles. 

Add the strawberries using foam tape on both. On the second strawberry just double up on the foam tape. 

Stamp the sentiment from the LF How You Bean Strawberries Add On stamp set on white cardstock using black ink. Die cut on the Pretty Pink Posh Sentiment Strips dies. Add to the card using foam tape. 

I just had to add one of those cute mouse from the Berry Special stamp set. Stamp on white cardstock using black ink and color using your favorite medium. Die cut or fussy cut like I did and add to the card using foam tape. 


Don't you think that this is a simple card to create? Just a few steps and you have a cute card with big strawberries. 

That is all for today.

Thank you so much for stopping by.
Have a sweet day!

Thursday, April 4, 2024

Pretty Pink Posh: Time To Party...


Happy Thursday blog friends.. I am guest designing for Pretty Pink Posh this month and I am so excited to be sharing many projects this month created using Pretty Pink Posh fun products. Today I have Birthday on my mind so I created this cupcake filled card. So let's get started.


Create card from white cardstock A2 size.

Cut a panel on white cardstock A2 size. Stencil the Streamers Stencil using a bright pink and teal ink. This is two stencils so very easy when adding the different colors. 

Cut 2 strips in white 1/2 inch and 2 strips in kraft 1/2 inch. Adhere those strips at and angle to your fun background using liquid glue. Cut off access.

Stamp the sentiment IT'S TIME TO from the Party Time stamp set on the white strip using black ink. 

Adhere your background to your card base using liquid glue.

Stamp out three of the fun cupcakes from the Easter Cupcakes on white cardstock using black ink and color them using your favorite medium. Die cut the images using the coordinating Easter Cupcake dies. Adhere the cupcakes to your background using liquid glue and foam tape. 

Stamp the PARTY sentiment from the Party Time stamp set on white cardstock using black ink, die cut the sentiment using the coordinating Party Time dies. Adhere the sentiment to your card using foam tape. 


Don't you just love all these cupcakes? They are full of spring and for sure look like a party to me. 

Thank you for stopping by.

Make sure to check out the Pretty Pink Posh online store HERE.

Tuesday, April 2, 2024

Spring time with Bella Blvd: Just Because...


Welcome blog friends.. YAY! I am so excited to be joining the Bella Blvd Creative Team as a card creator. I have to say this was one of the things on my wish list and it came true. I am so honored to be on the team and to be able to share with you how to use Bella Blvd products to create cards. 


Create card from white cardstock A2 size.

Die cut two different size rectangles of these adorable designer papers from the Just Because collection. I used the Cute Messengers front and back. Adhere the two squares together using foam tape on the smaller square. 

Die cut a circle and trim down the right side of the circle so it lines up with the smaller rectangle. Add some yellow ink in the circle but do not fill the circle. Leave a little white at the top. Adhere the circle to the square using foam tape. 

Pick out some of those cute Just Because Ephemera Icons and create a circle in the circle. I kept with the bee themed for this card but it all coordinates so go wild with your imagination. 

Finishing with the sentiment from the Just Because Ephemera Words. Adhere the sentiment using foam tape. 


Don't you just love all those adorable BEE's? This is Spring filled for sure and I know we are all ready to celebrate another year of spring.


YES, to rainbows and pink polka dots... right?


Create card from white cardstock A2 size.

Cut a panel on the Just Because A Great Day measuring 3 1/4 x 4 1/4 and adhere to the bottom part of your card base.

Cut a panel on the just Because Frameworthy backside Pink Polka Dot measuring 2 x 4 1/4 and adhere to the top of the card base. 

Cut a small strip of the Just Because Dancin' Daisies back side Yellow stripes measuring 1/2 x 4 1/4 and adhere to the center where the two patterns meet on the card. 

Cut a small strip of the Just Because Cute Messengers backside small pink polka dots measuring 1/4 x 4 1/4 and adhere to the center of the yellow stripes.

Die cut a 2 1/2 inch circle out of the Just Because Dancin' Daisies yellow stripes and adhere to the center using from tape. 

Pick out this adorable Rainbow from the Just Because Ephemera Icons and adhere to the center of the circle using foam tape.

Pick two of the Just Because bella-pops cardstock stickers Fluttery and add them to your scene.

Finishing with a sweet sentiment from the Just Because Ephemera Words. Add the sentiment using foam tape. 
 

So many cute elements in this collection and well I could and will create many more with this new Just Because collection. 

For more inspiration make sure to follow Bella Blvd on Instagram HERE. 

Thank you so much for stopping by.
Have the most beautiful day!

Monday, April 1, 2024

Thinking of You...


Happy April blog friends.. I am so excited it is April, as it is my birthday/anniversary month. These are good things to celebrate... right? Today as you can tell I am all about spring. I have brought out all the pretty spring colors. 


Create card from white cardstock A2 size.

Stamp the Taylored Expressions Spring Array cling stamp on white cardstock using green ink. I used Pinkfresh Studio Meadow ink. This set comes with 4 stencils and that is where all the flowers show up. Pick colors that make you happy. I used Pinkfresh Studio: Mimosa, Bubble Gum, Sweet Mustard, Hydrangea, Seaside and Summer Showers. Each stencil lines up perfectly, just take your time and line it up before adding the ink. 

I did a little fussy cutting around the Spring Array. I fussy cut just half of the image as you can see in the photo. I kept the corner lined up so it fit into the corner of my card. 

Pick two pieces of designer paper that you think will go with your color combo. These papers I used I have no idea who makes them... sorry. They are left overs from some 6x6 paper pads I have had for years. I started with the green and blue polka dot and adhere it to my card base and trimmed off excess. I then added more glue to the area I wanted the second pattern and then lined it up and adhere it to the polka dots. Trim off excess. 

I then added foam tape to the back of my Spring Array and add it to the card. 

I finished with adding some gems on the pink flowers using liquid glue and then stamping the sentiment from the Taylored Expressions: Diamond Botanical stamp set directly onto my card using black ink. 


A Spring filled Thinking of you card.... Don't you just love those flowers? 

Thank you for stopping by.

Have a wonderful first day of April.